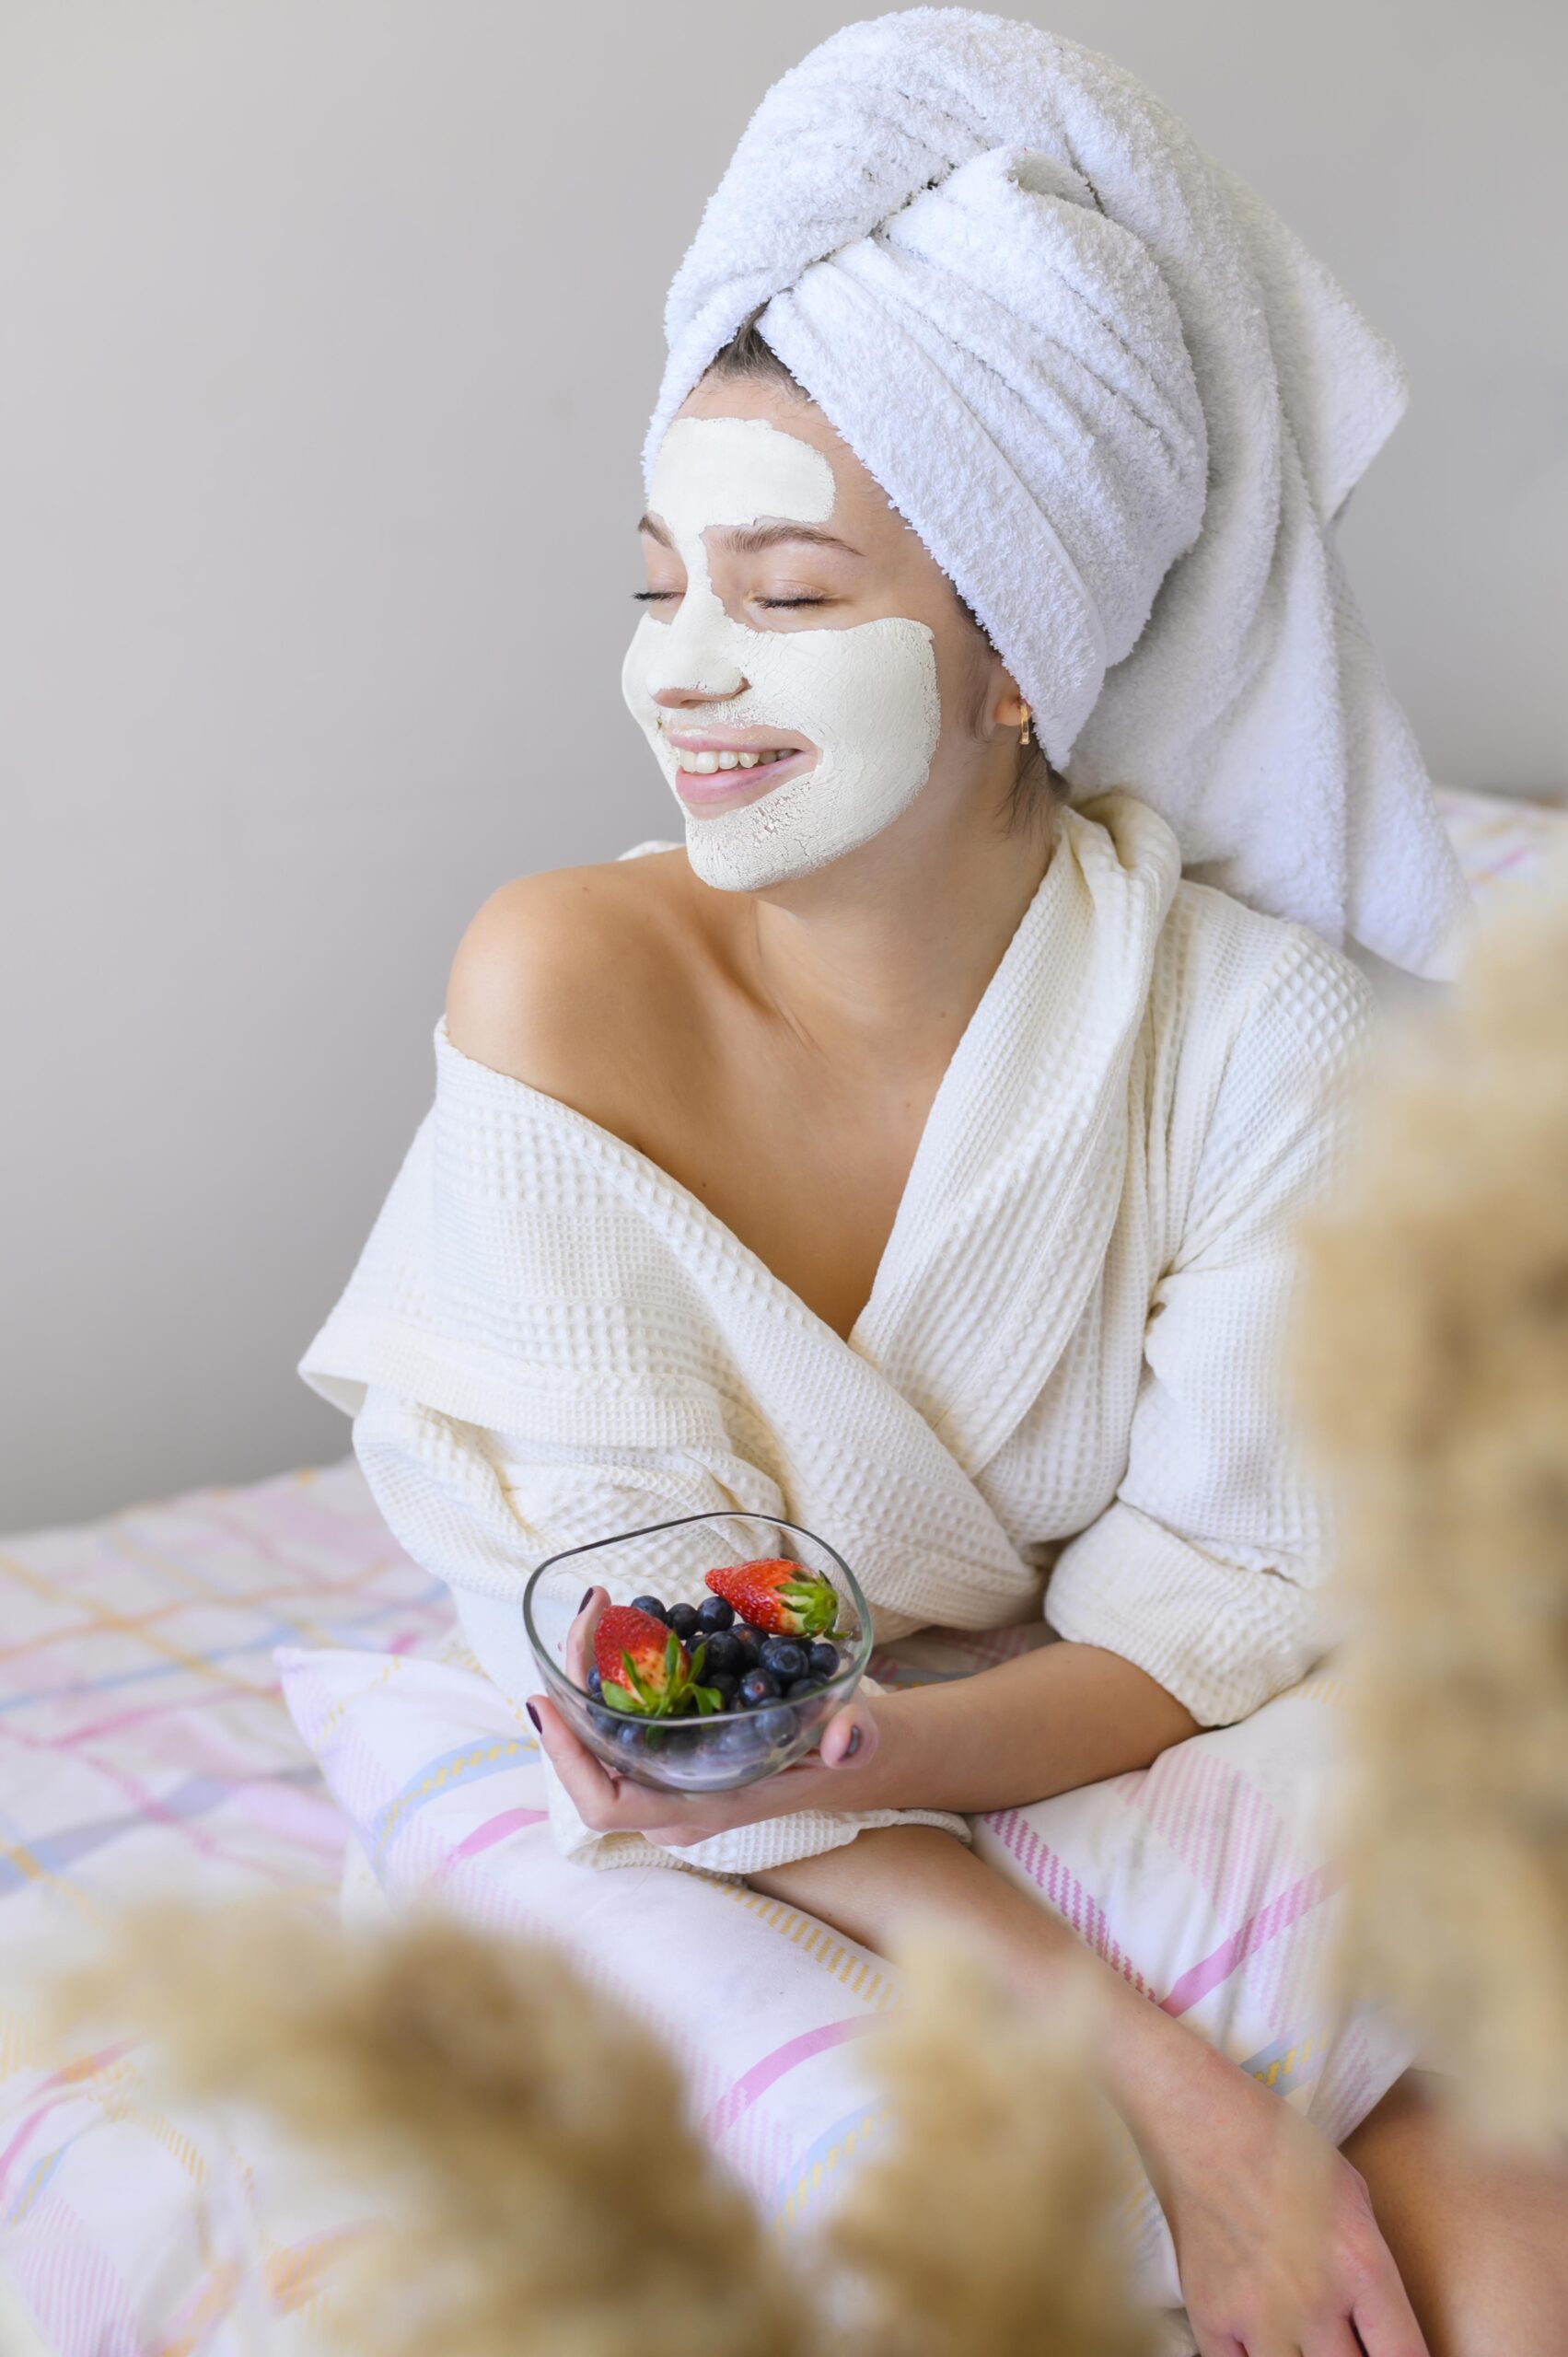
Taking care of our skin might be difficult in today’s fast-paced society. Our skin takes the brunt of everything, from toxins to stress. But don’t worry! DIY handmade face masks are a simple and efficient way to revitalize your skin without breaking the budget. These do-it-yourself miracles may restore your skin’s natural shine, leaving it appearing youthful, energetic, and healthy. In this blog article, we will look at the advantages of homemade face masks and provide you a step-by-step method to making your own using all-natural materials.
Section 1: The Allure of DIY Face Masks
Beauty routines have altered throughout time, but the allure of handmade face masks has endured. These masks have several benefits, including cost, customization, and the guarantee that organic and chemical-free components are used. You can tailor-make a face mask that properly meets your requirements with the ability to target particular skin conditions, and there’s nothing more fulfilling than seeing good results on your skin.
Section 2: Ingredients Required for Your DIY Face Mask Arsenal
Before we get into the realm of DIY face masks, let’s take a look at some crucial elements that may completely improve your skincare routine. (Keywords: natural ingredients, skincare, do-it-yourself face mask)
- Honey – Honey has antimicrobial characteristics and is an excellent addition to any face mask. It moisturizes and soothes the skin, leaving it smooth and supple.
- Avocado – Avocados, which are high in healthy fats and vitamins, nourish the skin and give it a natural glow.
- Yoghurt – Yogurt’s lactic acid exfoliates dead skin cells and tightens pores, leaving your skin feeling revitalized.
- Oats – Grains contain anti-inflammatory characteristics that minimise redness and irritation, making them ideal for sensitive skin.
- Turmeric – This colourful spice contains potent antioxidants that can help fight acne and improve even skin tone.
Section 3: Adapting Your Face Mask to Fit Different Skin Types
Not all faces are made equal, and your face masks should not be either. It is critical to tailor your face masks to your skin type for the best results. There is a face mask for everyone, whether you have dry, oily, combo, or sensitive skin. (Keywords: personalized face masks, skin types)
- For Dry Skin, use a moisturising mask with ingredients like mashed bananas, aloe vera, and honey to replenish moisture and restore radiance.
- To regulate excess oil and prevent breakouts, use a clarifying mask with components including as clay, lemon juice, and tea tree oil.
- Balance is the key for Combination Skin. To target various regions of your face, mix and combine substances. Use honey and oats on dry areas, and yoghurt and turmeric on greasy areas.
- For Sensitive Skin – Use a soothing mask with ingredients like cucumber, chamomile, and oats to soothe inflammation.
Section 4: Tried and True DIY Face Mask Recipes
Now that we’ve covered the advantages of DIY face masks and the finest ingredients for different skin types, let’s dive into some tried-and-true recipes that will leave your skin feeling pampered and revitalized. (Keywords: face mask recipes, radiant skin)
- Recipe 1: Honey and Yoghurt Glow Mask – This mask combines the moisturising characteristics of honey with the exfoliating advantages of yoghurt, making it ideal for all skin types. Apply two teaspoons of yoghurt and one spoonful of honey to your face and leave on for 15 minutes before washing with warm water.
- Recipe 2: Avocado and Oatmeal nutritious Mask – Use this nutritious mask to say goodbye to dry and dull skin. Mix half an avocado with a spoonful of ground oats. Apply the mixture to your face for 20 minutes before rinsing it off.
Section 5: How to Use Your Homemade Face Mask
Applying a face mask may seem obvious, but there are a few steps you should take to get the most out of your DIY production. (Keywords: application of face mask, skincare routine)
- Cleanse – Begin with a clean face, removing any dirt or makeup.
- Steam – For a few minutes, place your face over a basin of warm water to open your pores.
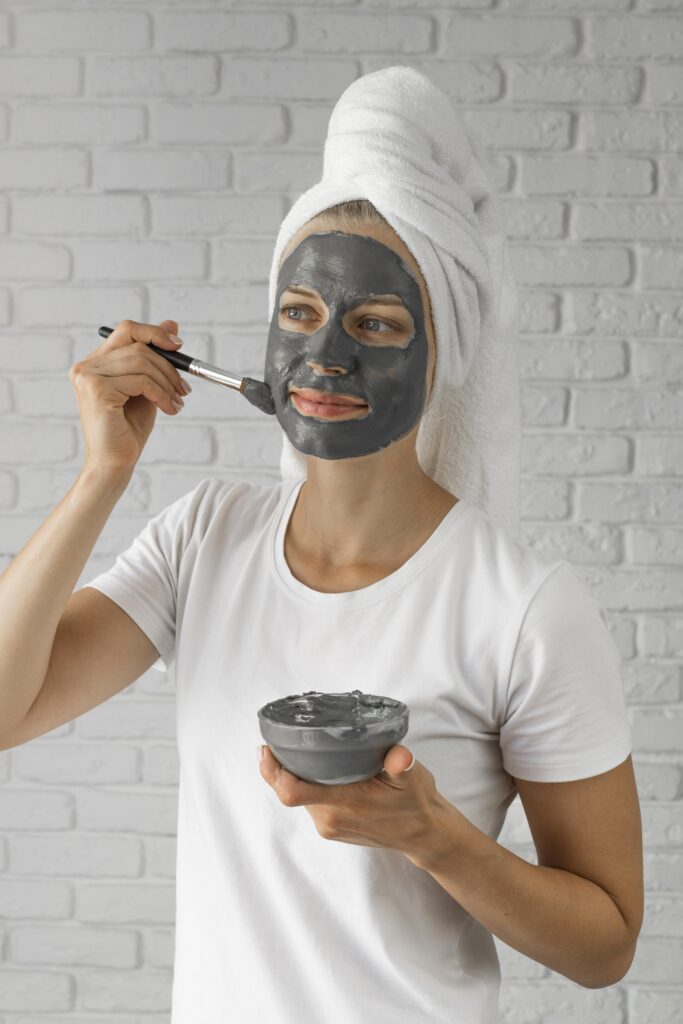
- Apply the mask evenly to your face, avoiding the eye region, with a clean brush or your fingertips.
- Relax – Take this opportunity to unwind and allow the mask do its thing.
- Rinse the mask off gently with lukewarm water, massage your skin dry, and apply your favorited moisturizer.
Section 6: Embracing Your Natural Glow
Congratulations, you’ve just uncovered the key to glowing and revitalized skin with DIY homemade face masks. Accept your newfound information and experiment with numerous recipes until you discover the right fit for your skin’s demands. So, let your imagination go wild and enjoy the trip to naturally glowing and healthy skin!